Eyes
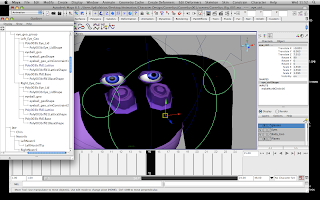
To create the eyes i have simply followed the book, i took these straight from Pocahontas' rig by exporting them as a binary file (ready to import into my gorilla scene)
I have created a nurbs circle and then by selecting the eye control then selecting the eye geometry i had simply made an Aim constraint so that the eyes can move together as one making it appear as though he's focusing on a point. I have the Nostril_ctrl, EyeBrow_ctrl and face_ctrl parented to the Head_ctrl so they all happily move together. The above picture shows that i have control over the individual eye as well as moving them together (my mesh is black there as i hadn't sorted the material to be assigned to the correct material attribute).
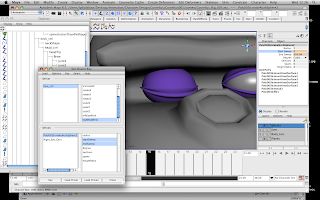
Using the Set Driven Key to control the blinking was very simple, i had to first select the eye lid geometry and in the inputs select the makeNurbSphere as this was where i was animating using the start sweep and end sweep. I had parented the eye controller to the face control so i am working with the face control as the driver, i had to add an eye blink attribute so that i can control the blinking from the channel box when i have selected the face control.
Nose
For the nostrils i wanted to be able to create a sniffing/wiggle expression when animating, i first thought about using locators and attributes like had been done with the feet however the nostril joints aren't effected by the rotation axis (if i haven't covered this it will be in the next post).
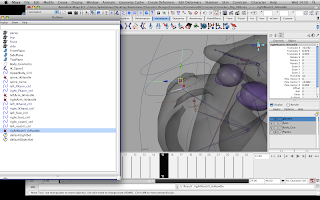
I firstly created two joints which were then parented to the chin joint, once the nostril joints were in place i then added an IK handle from the nostril base to the nostril tip. I was able to easily control each nostril as i had created nurbs circles which i can edit the values in the translate X and successfully effect the geometry.
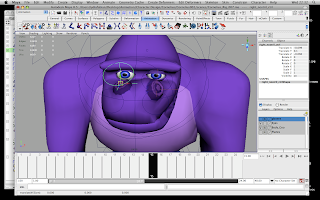
The above picture shows how the nostrils have been moved by using the controllers i had created. Obviously geometry bound to the joints here showing much need for weight painting with the crumple in the mouth and near the left eye.. even the chest i think. But i have successfully created a way to wiggle that nose!
Eye Brows
For the eye brows i thought all along the best way was to create single joints for the sections of the brow, parent the brow joints to the head tip joint, and then again using the nurbs circles as controllers above to easily select the eye brow joints, and placing these five joints in one big controller so i can control them all at the same time. Linking the joints to the nurbs circle by parenting.
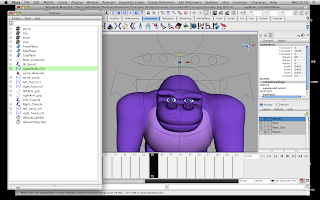
Although the mesh is distorting the mouth muzzle and digging into the eyes again i will fix using the paint weight tool.
No comments:
Post a Comment