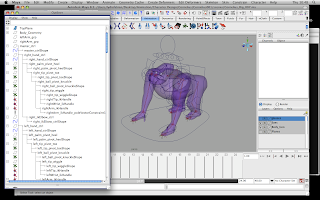
To parent everything together i followed the book however as shown below when parenting the hadn controlers didnt effect the arm, so i simply just sorted this by shuffling about what parents to what.
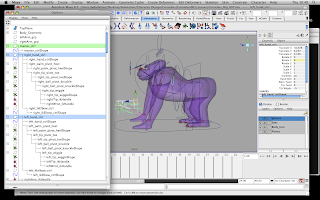
Once all the rig is set to one controller i need to begin the weight painting process so by selecting all the joints then shift selecting the mesh i did a smooth bind to create the moving character. Smooth bind allows the geometry to be affected by the movement of the joints and handles i have set up in the rig.
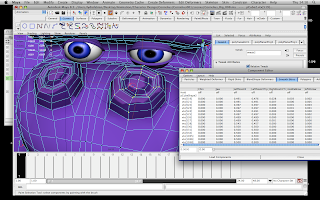
Painting weights is basically where you are altering what joints or handles the vertices are influenced towards. There are two ways to paint weights, one in the component editor which allows you to select each vertices and then you come up with a list of vertices as shown below and a top list of what joints/handles these vertices are influenced to. To change where a vert is influence by say, in the nose, i don't want the arm joints to affect the nostril so i would find the tab in the component editor and select the whole column and change the values to 0 which would mean that there is no influence from the arm.
The other way is to use the paint weight tool brush, where you select the joint you want to use to influence your vertices and by clicking and dragging you add or subtract the influence depending on the brush setting, adding is the white, and areas not influenced are black.
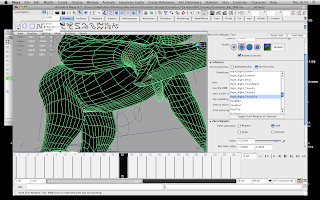
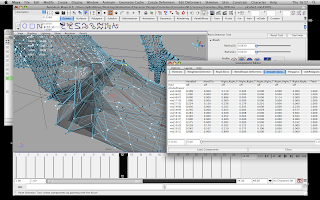
So far i have only begun to paint the arms, nostrils and head weights, i have a feeling the back legs wont be so bad fingers crossed. However in the picture above i was having major problems with the foot, and using the brush tool i couldn't figure out what was going on so i went into the component editor and checked the values, by altering them i eventually figured waht was going on.
Playblast of animation without painting weights to the mesh
Playblast of animation with painting weights to the mesh
I can notice a definite positive effect of weight painting, however i am still having trouble with some verts under the arms.
Playblast of animation before weight painting on head sections
Playblast of animation after weight painting on head sections (still working)
Again can see the effects this has but more work needed here for sure however here the neck is not affected byt the head movement
Things left to do -
- Finish weight painting, back legs, neck, feet
- Animate short sections showing rig movements and evaluate
- Create spin cycle of model progressing, wire frame, joints
- Evaluate project and what i have found difficult and parts i enjoyed
No comments:
Post a Comment