Before today i hadn't even realized i had problems with my front arms until i experimented and moved the handle controls.
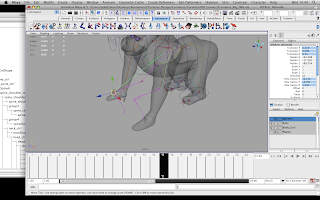
In the above picture you can see that for the left arm i have two handles, an IK and FK. When rigging and following the book i decided to drop doing the FK as i couldn't figure out the FKIK switch so with time cutting close to my target deadlines i made the cut. So there was no easy way to fix this problem other than recreating the arm all over again. Which was time consuming as instead of following the book and rigging the arms as arms, i chose to rig them the same as the legs because my character is a quadruped. One thing that worried me was that as i am following the book for a Bi-Pedal character for rigging, i remembered that i am creating a quadruped and that using one for the other might not be the best for achieving the best movement for my gorilla. So i guess I'm keeping fingers crossed that things are in the right place as i don't know any different or correct method/way to work in creating a quadruped. Though i had looked online for rigging tutorials i found digital tutors had some nice tuts to follow, however as I'd already started rigging i thought to keep it in mind next time i want to create a quadruped to follow Digital Tutors.
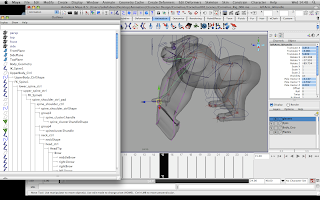
Ok so another thing with the geometry was that when i'd skinned it to the rig i go this drag where the arm wouldn't move cleaning.. major weight painting i thought at the time, but also the FK is still there in this shot. I couldn;t simply delete the FK as i still had the same problems, before trying to create new arms i was searching for a way out as opposed to spending more time going over something i thought i'd already covered.. seem to be doing a lot of that! With the texture and my not understanding why the colours didn't show correctly, which i then learnt was that i needded the original lambert on.. simple but unknown for me to think to look there.

So here i had created the arm controllers hand controllers and IK to the joints just as i had done with the back legs which work nicely on the arms and i can get the desired movement, though for the movement i have to run some animation tests trying to break the rig. But i am proud that i'm finally getting somewhere.
For the feet the book teaches me how to create attributes with using locators and IK handles to create some movement easier than key framing the handles to get the same look.
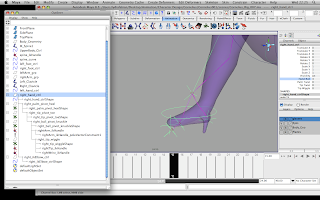
Attributes such as a foot roll, foot twist, a toe wiggle and heel twist all look really nice on my mesh. I have above a screenshot of the heel roll just on the joints so we can see whats going on, also as shown below..
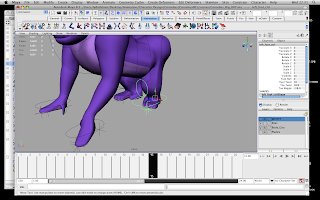
Also here we can see that part of the mesh doesn't hold back like it did before i created this new arm setup. This made me feel happy after realizing i can't do anything to change the way the elbow moves tonight, even though i had re created the arm and handles and attributes twice to see if it was something i'd done wrong when setting up the arm. Cautious of the pole vector constraint and the RP solver which was an issue in the book before.
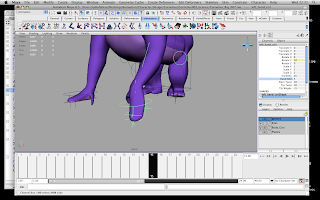
I don't think we can see it too well but i have also changed the values of the added attributes for foot roll on the left foot. The toe wiggle looks really good but i think it'l look more effecting on a playblast which i will put on here soon when test animating bits of the rig.
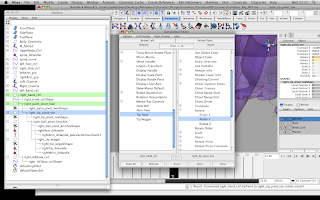
When creating the attributes and keying the values.. i didn't have to go through the Set Driven Key each time but i used the connection editor and by loading up the foot or hand controls into the left i was able to set what controlled what by loading up the locators int he right column. Doing this for all attributes was a nice little trick to learn.
I thought i should just add on the end of this that when needing to parent my clavicles to the spine 6 joint.. that didn't happen for me as you cannot parent from one joint to two separate joints so.. when parenting i had to create a parent constraint which allowed me to have two separate areas to parent each clavicle for each side.

The main red highlighted joint is the spine, you can just see the joint ahead which has red spikes coming from it.. and then just below that you can see where my clavicles are parented too of you follow the joint from the top shoulder.
No comments:
Post a Comment