So here's a quick re cap - to add the desired colour to my model i took a snapshot of my UV editor which i then saved as a jpg at 1024 bits, this was because when i saved as the preset 512 i found that with the texture in a higher resolution i wasn't getting a pixelated look on my model. I then went into Photoshop and imported my UV jpg file, created a new layer on top of the background layer because i then painted on the new layer over the texture editor (shown below). I then flattened the image and exported as a tiff (could have used a tga also), then back in maya int he material attributes of my model i applied the texture file.
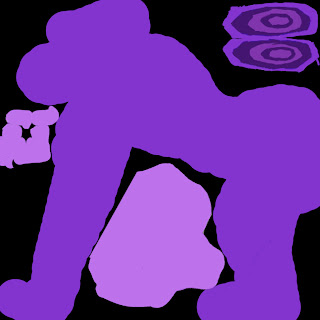
The UV map above is different to the previous one as i will need the main body larger so i can apply my finger print bump map with more detail.
Bump Map
For my model i wanted the look of having finger prints and smudges on the surface like clay, so for this i would need to have fingerprints, photoshop and my UV editor so i can apply my fingerprints to specific parts of the model.
So for finger prints i decided why not try scanning my hand in a high resolution so i capture the detail of the prints.
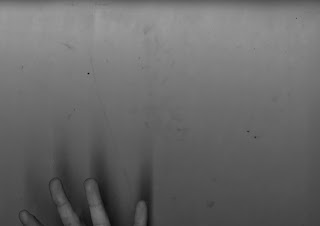
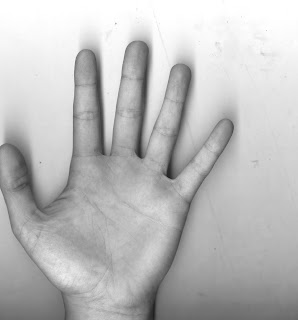
So the next thing to do was set up the image for bump map as to create the defromation on the model is effected by black(depth) and white(raised), though you can change which way it works in maya. So in the screenshot below i am just using the curves tool in PS to get the best contrast between the fingerprint lines, the better the contrast the better the print.
I also created another layer which i filled with a light grey tone which helps to control the focus of the bump, because if the image is even but there is a darker section the ther sections are cancelled out, so with this grey layer above i can bring the poacity down on the layer, and then selecting the brush and lowering the opacity there i am able to paint over the darker sections to even the image.
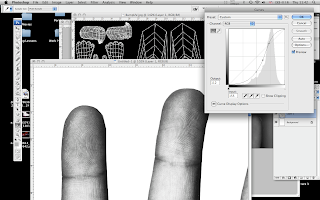
I would then place the print on top of the UV image which is being used as a reference for placement, and export as a tiff. Returning to maya and in the material attributes i add this tiff file to the bump map.
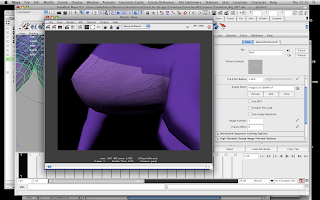
Below is what happened to the under belly when i tried applying the under palm print to the mesh, it looks veiny becuase i had not controlled the contrast too great in PS image.
So i then thought up that maybe it'd be more effective using inked thumb prints, i used a secondary source for these though as i didn't have ink available. I did the same to these images in PS as my scanned finger prints and layed them on top of the desired place on the UV editor
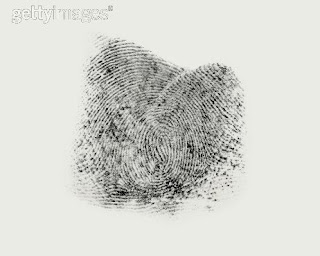
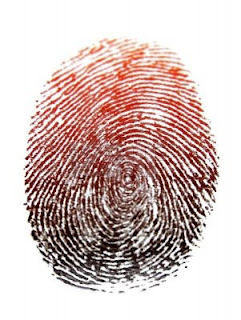
So in the screenshot below we can see a clear print shape, i like this :) so i am thinking if there's enough time i would like to place some various prints and maybe try smudging them in PS so that when in maya it might look like some one has tried to smooth out the clay.
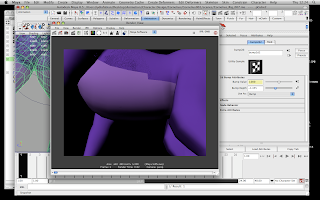
Because of the way i had mapped my mesh, for me to have more control over the thumb print i would need to map out the different sections, maybe a sphere map because in the image below i had applied my thumb print on the UV in PS on top of the back, which of course is over lapped so i can't get so much control there without re mapping.
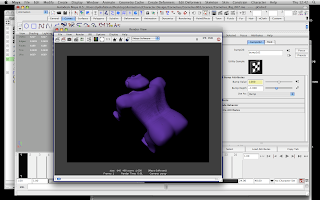
But on the image below we have a successful print on the under belly.
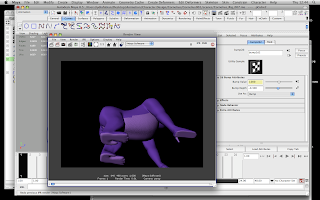
So i have learnt how to use bump maps, and i would love to have had the time to explore more with this. i would have liked to have tried using my own plasticine and scanning in a flat mold which i have pushed which would show up the finger prints maybe on a high res scan.
I mght not push this into my finished piece now as i do not have enough time.
No comments:
Post a Comment